Zerostart Coolant Heater Intallation
2001 Jetta TDI ![]()
![]()
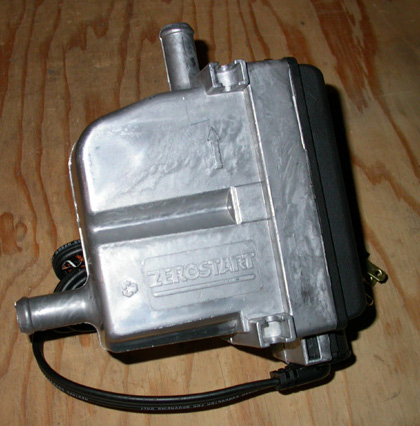
Well, I installed my coolant heater yesterday. It went amazingly smooth and quicker than what I thought (about 2.5 hours including picture taking). This was done on a 2001 Jetta TDI. Below is the tank type coolant heater from Zerostart. This one happens to be the 1000W model.
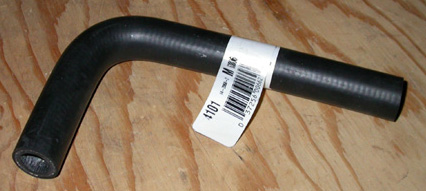
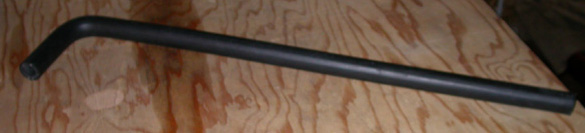
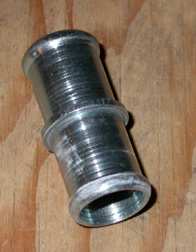
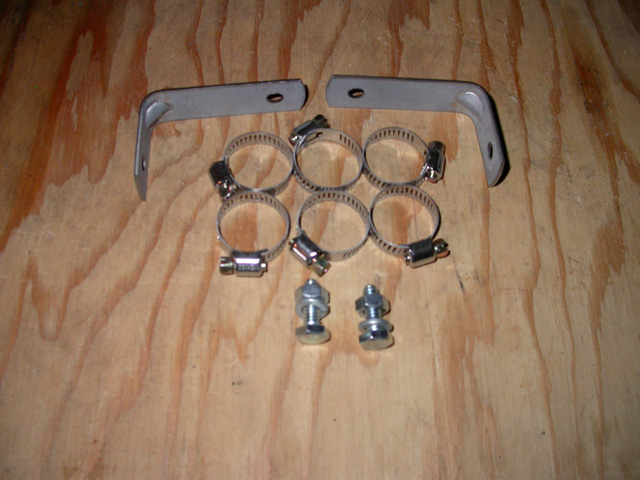
The following pictures are the components that I used to install the heater and replace the existing hose that runs from the oil cooler to it's upper termination point. The the approx. length of the two heater hoses with 90Deg bends are 8" and 24" respectively.
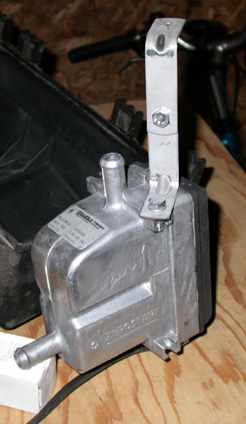
Coolant Heater with mounting bracket positioned in it's final orientation prior to mounting.
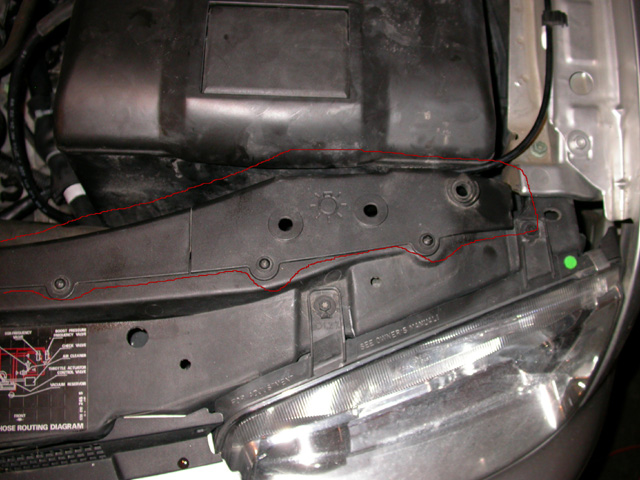
In order to make it easier to access to the front battery cover mounting bolt and see what you're doing, I removed the headlight access covers outlined in red.
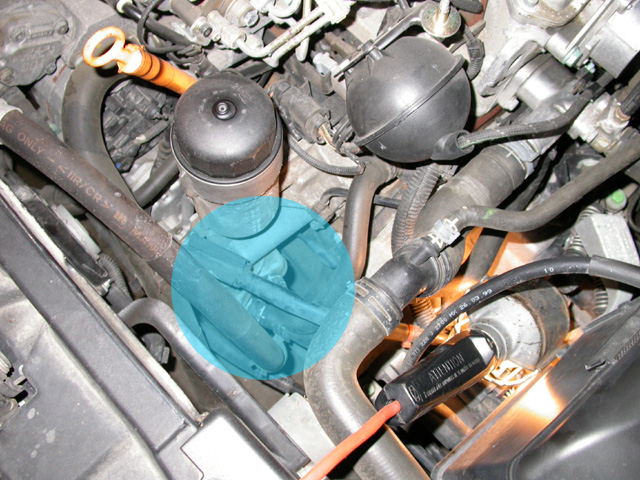
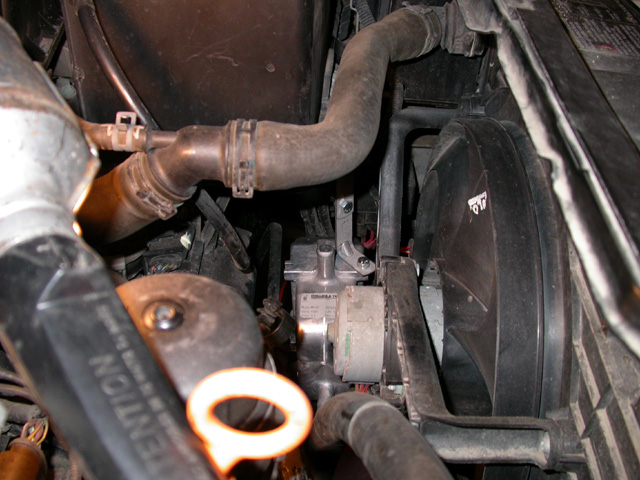
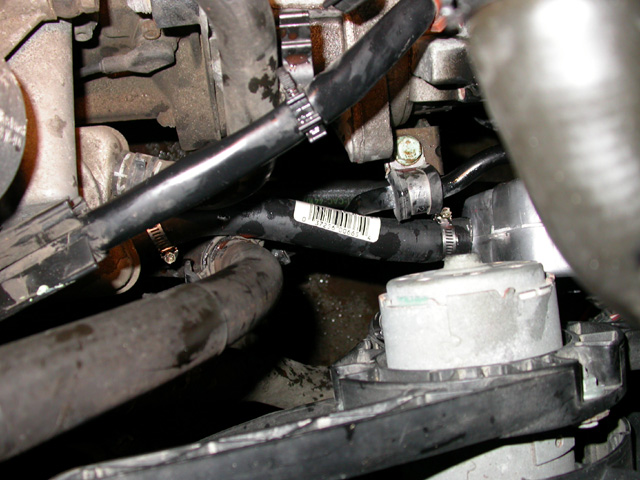
For those that may not know, here is the location of the oil cooler that will be connected to the inlet of the heater.
Just below the battery is where the heater is to be mounted.
Remove the bolt at the front left of the battery and slide the heater mounting bracket in betweeen the battery cover and the base that supports the battery itself. Line up the holes and replace and tighten the mounting bolt again. Be sure that the heater is oriented as in the second picture below.
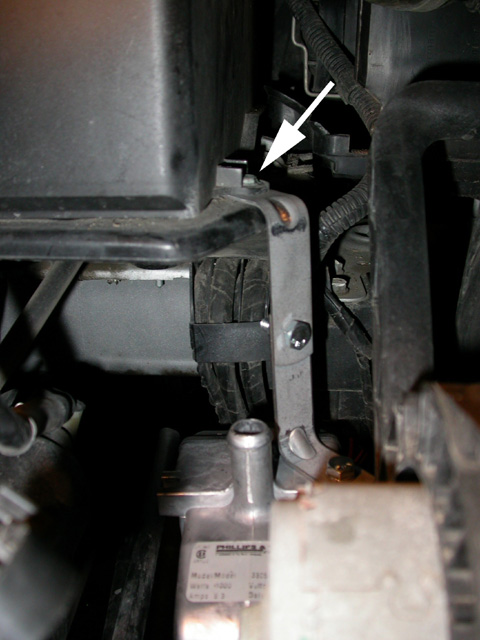
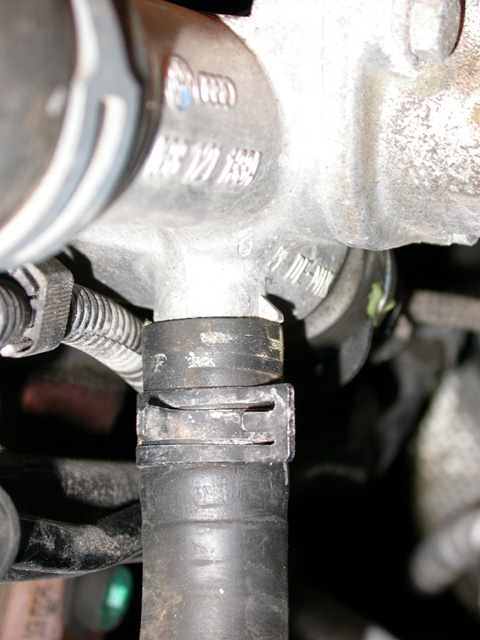
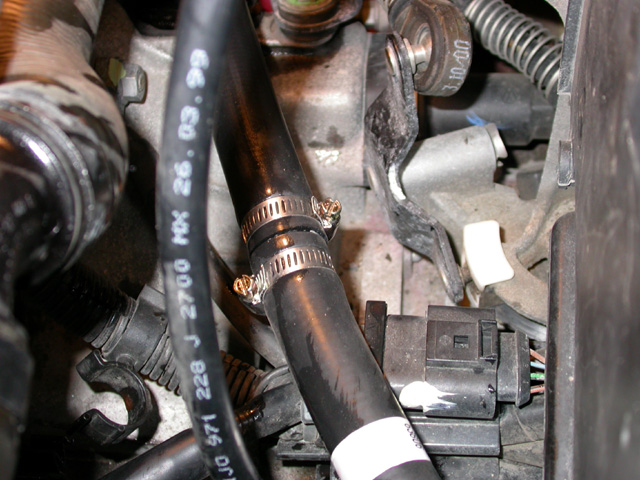
The oil cooler heater hose that will be removed was connected to it's brother with a moulded rubber piece as highlighted below. I carefully cut it down the middle so that I could remove it. The second photo also points to the hose that will be disconnected.
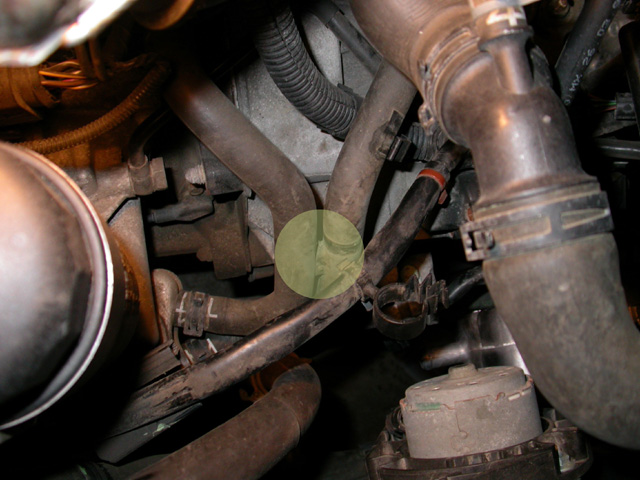
Here is a better picture of the hoses that go into the oil cooler. The bottom (lower hose) is the one that you will disconnect. Be sure to have a container ready to collect the coolant that will flow out.
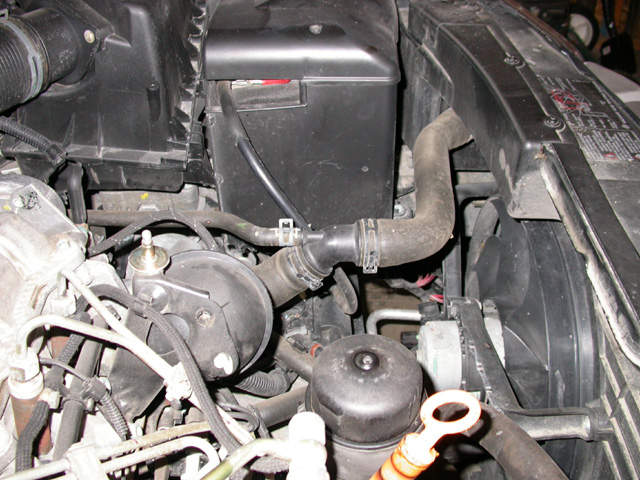
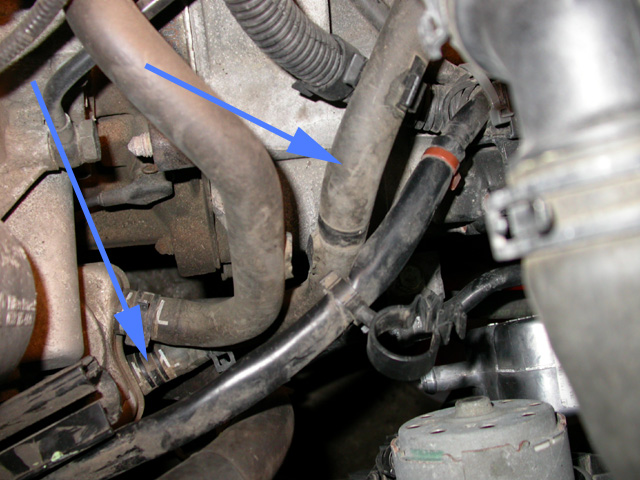
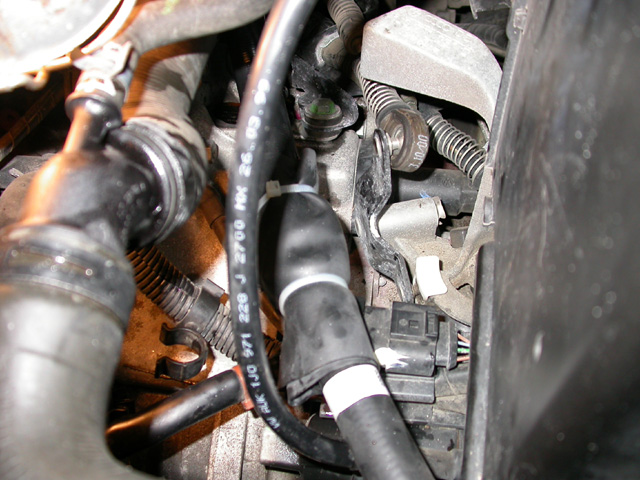
If you follow the hose from the oil cooler to it's upper connection, you will find it looks like this.

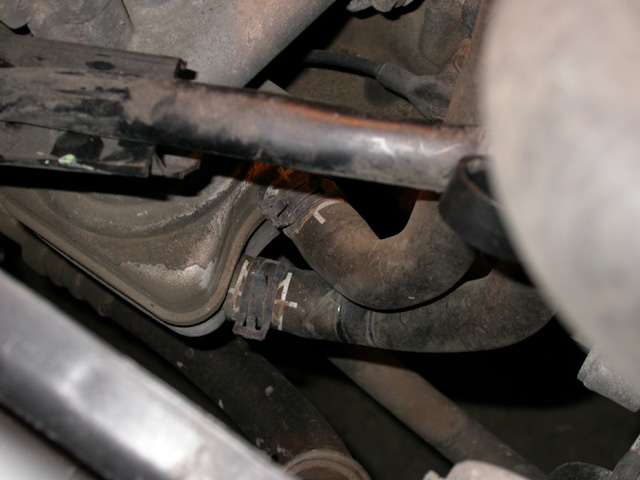
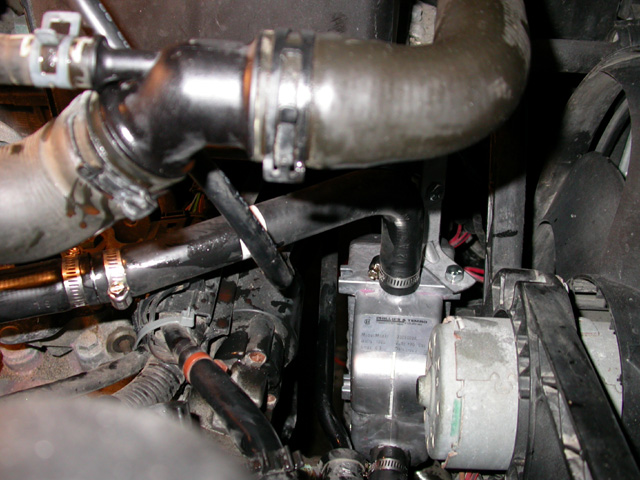
Once you have the oil cooler hose removed, you can proceed to connect the oil cooler outlet to the Zerostart heater inlet.
I cut the heater outlet hoses to length, starting at the heater itself, and used the hose coupler to join the two sections together. Before making the final upper connection, I poured coolant down the hose to fill the heater and remove the air.
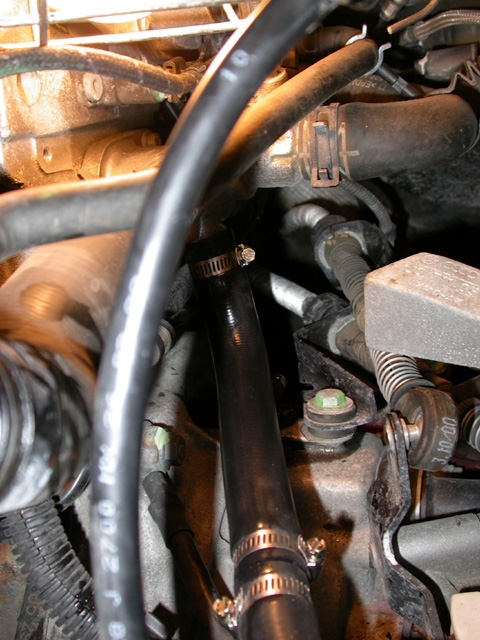
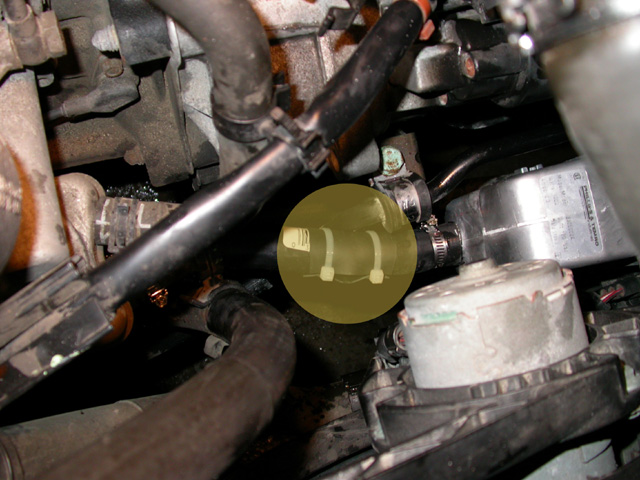
I wrapped a thin piece of rubber around the lower hose and the upper splice for protection against abrasion.
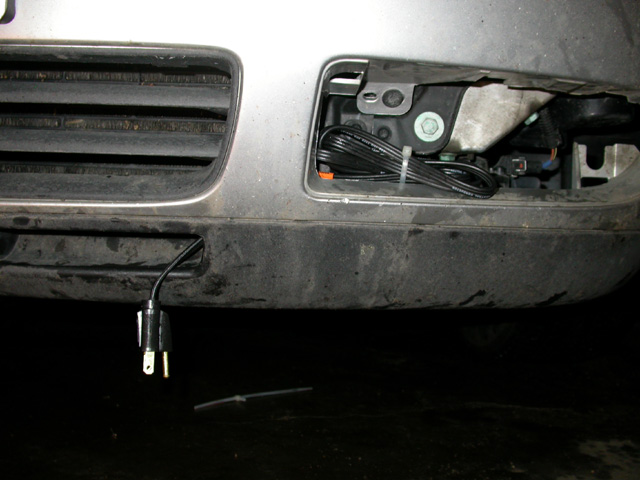
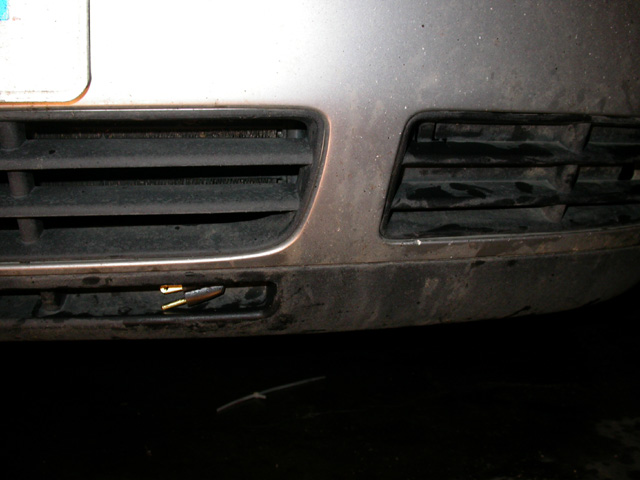
Finally, this is where I routed the power cord for easy access and most pleasant appearance.